Yoga made its way to the West in about the 19th century. Since then, it has been widely practiced, observed, transformed and even regulated. Once the practice took root in the Western world, people had praised it for its magnificent benefits toward leading a healthier life. Some even went on to take the ancient teachings from India and translate them over here in what is known as yoga teacher training or “ytt”.
Eventually, there needed to be some sort of quality control for the yoga curriculum that was being put out into the world and that’s where Yoga Alliance comes in. Yoga Alliance soon became a governing body for what constitutes a credible yoga teacher training and a continuing education course. Continuing education (CEUs) could be considered any additional training on top of the initial 200 and 300 hours.
Yoga Alliance put some guidelines in place to standardize what was considered a Registered Yoga Teacher and Registered Yoga School. But first, let’s go over the order in which people typically get certified to teach yoga.
Core Yoga Teacher Trainings:
-
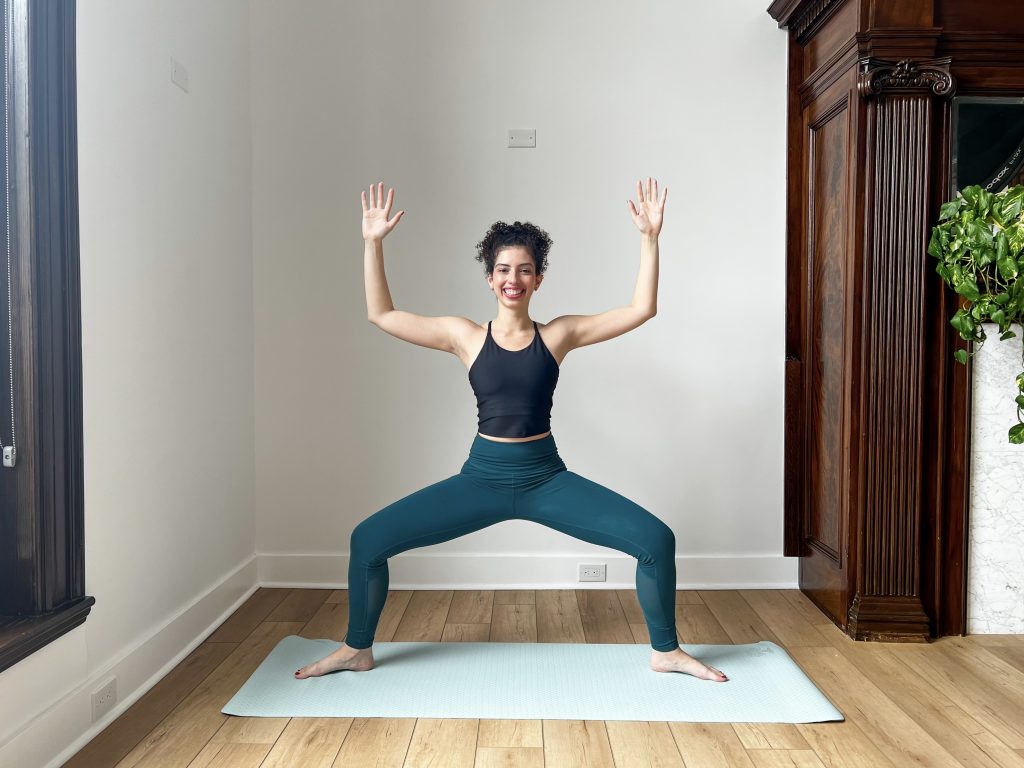
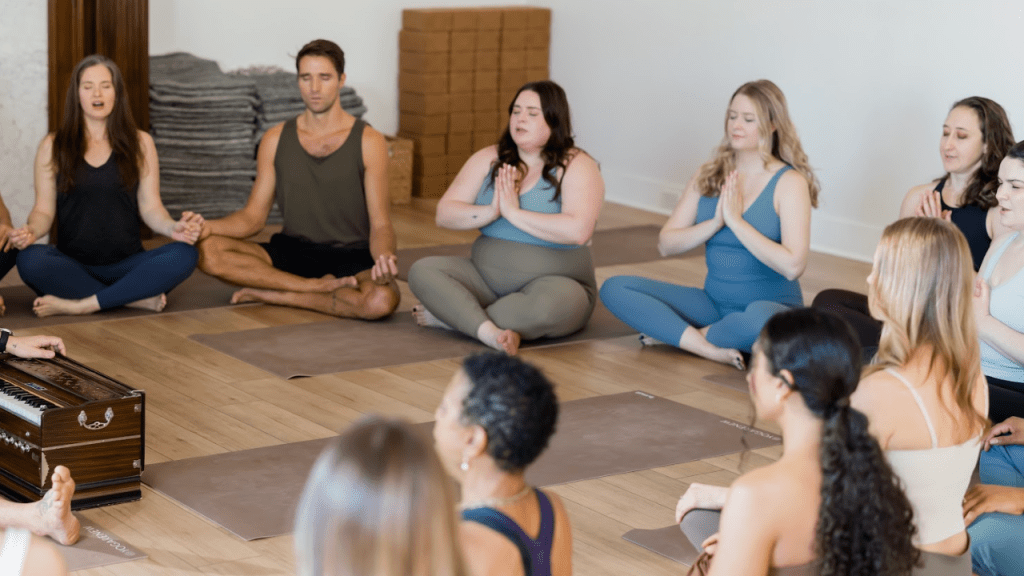
- 200 HR Yoga Teacher Training: This is the starting point to become certified teaching yoga. Enrolling in a 200 hour yoga teacher training gives you the fundamentals necessary to understand the practice, both its history and current standings, as well as all the information you’d need to lead a group fitness class. However, you’ll learn so much more than just the physical practice. While yoga asana is widely covered in a 200 hour ytt, there are also topics like Philosophy, The Chakras & Subtle Body, Meditation & Breathwork, as well as pretty in-depth Anatomy knowledge to aid in the physical portion. Once you’ve obtained a 200 Hour Yoga Teacher Training Certification, you can continue on to 300 hours and/or decide to study a specific genre of yoga such as: Yin, Restorative, Prenatal, Bhakti, and more.
- CYT = Certified Yoga Teacher, signifies the completion of 200 hours or more of yoga teacher training.
- RYT200 = Registered Yoga Teacher, completed 200 hours of yoga teacher training.
- E-RYT200 = Experienced Registered Yoga Teacher, completed 200 hours of yoga teacher training and at least 1,000 hours of teaching experience.
- 300 HR Yoga Teacher Training: A 300 hour yoga teacher training will go deeper into the study of yoga, specifically the understanding of Samadhi. You’ll learn more in-depth teaching methods such as hands-on assists, more ways to modify postures utilizing props and possibly the wall, you’ll go deeper into yoga philosophy and read larger, more detailed texts such as The Upanishads, The Bhagavad Gita, and depending on what lineage of yoga asana you are studying, texts like The Haṭha Yoga Pradīpikā. A 300 hour training is meant to expand upon your 200 hours, meaning you’ll go into more granular teachings rather than having access to the broad spectrum of topics discussed in a 200 hour training.
- 500 HR Yoga Teacher Training: A full 500 hours is achieved once you’ve completed a 200 hour yoga teacher training and a 300 hour yoga teacher training. A 500 hour ytt is a combination of those two programs. When you’re completing an online yoga teacher training, a 500 hour ytt will often be a package deal of that specific yoga school’s 200 and 300 hour ytt.
- RYT500 = Registered Yoga Teacher, having completed 500 total hours of training.
- E-RYT500 = Experienced Registered Yoga Teacher with over 2,000 hours of teaching experience.
- 200 HR Yoga Teacher Training: This is the starting point to become certified teaching yoga. Enrolling in a 200 hour yoga teacher training gives you the fundamentals necessary to understand the practice, both its history and current standings, as well as all the information you’d need to lead a group fitness class. However, you’ll learn so much more than just the physical practice. While yoga asana is widely covered in a 200 hour ytt, there are also topics like Philosophy, The Chakras & Subtle Body, Meditation & Breathwork, as well as pretty in-depth Anatomy knowledge to aid in the physical portion. Once you’ve obtained a 200 Hour Yoga Teacher Training Certification, you can continue on to 300 hours and/or decide to study a specific genre of yoga such as: Yin, Restorative, Prenatal, Bhakti, and more.
Then there are ‘specialty certifications’. A specialty certification can be considered a training in a specific type of yoga or meditation that you are passionate about that exists as its own training outside of a 200 hour yoga teacher training. Specialty certifications often come with a specific yoga alliance designation, but are not required to teach that specific type of yoga. For example, PRYT means that they have completed a Prenatal Yoga Teacher Training program to further assist pre and postnatal students. This is the same with children’s yoga. Certain yoga certifications like kids yoga, prenatal, yin and restorative are typically done after a 200 hour training. They often build on a foundational training but will also delve into specific areas like poses, class structure, anatomy and philosophy that are specific to that practice.
Specialty Certifications:
-
- Prenatal Yoga Teacher Training: A yoga teacher training dedicated to pre and postnatal care for yoga students. A prenatal training will dive deeper into the specifics of the pregnant body and how to not only teach pregnant yogis, but assist, support and offer guidance through their pregnancy journey from a physical, mental and energetic perspective. This training helps yoga teachers stay equipped with the knowledge to guide pregnant yoga students on their journey. It can also be used as a training to help in industries that deal with pregnant people, such as learning meditations and other support methods for pregnant people in hospitals and other clinical settings.
- PRYT = RYTs of any designation can register as a Registered Prenatal Yoga Teacher (RPYT) after completing an 85-hour prenatal yoga teacher training registered with Yoga Alliance. Teachers may complete their RPYT and RYT programs in any order but cannot register as a RPYT until the RYT has been completed. Applicants must submit 30 teaching hours in prenatal yoga, which must be performed after completing a yoga teacher training with a Registered Prenatal Yoga School (RPYS). – From Yoga Alliance
- Yin Yoga Teacher Training: Yin Yoga is a slow-paced style of yoga that focuses on long-held postures designed to target the connective tissues of the body, including the fascia, ligaments, joints and hips. Unlike more active styles of yoga, Yin encourages stillness, patience and introspection. A Yin Yoga Teacher Training expands a teacher’s understanding of the energetic body, meridian theory, meditation and functional anatomy while also helping teachers learn how to safely guide students through passive postures for extended periods of time. Yin Yoga trainings are commonly taken after a 200 Hour Yoga Teacher Training, though some schools may allow students to enroll concurrently. Teachers often pursue Yin Yoga certifications to better support students seeking mobility, recovery, stress relief and a more meditative practice.
- Restorative Yoga Teacher Training: A Restorative Yoga Teacher Training teaches yoga instructors how to create safe, calming and accessible environments for students dealing with stress, burnout, anxiety, fatigue or physical recovery. These trainings often emphasize the importance of rest in modern wellness practices and help teachers understand how restorative yoga supports the parasympathetic nervous system.
- Iyengar Yoga Teacher Training: Iyengar Yoga is a methodical and alignment-focused style of yoga developed by B.K.S. Iyengar. Known for its precision, use of props and emphasis on proper anatomical alignment, Iyengar Yoga encourages practitioners to develop strength, stability, mobility and body awareness through carefully structured sequencing and posture refinement.
- Level 1: Level 1 teachers are trained in foundational standing poses, seated poses, twists, introductory backbends and basic pranayama techniques. Teachers at this level learn how to safely instruct beginner and general-level students while emphasizing alignment, stability and prop usage.
- Level 2: Level 2 certification expands into more intermediate postures, longer sequencing strategies and deeper studies of anatomy, philosophy and pranayama. Teachers refine their observational skills and ability to adapt poses for varying student needs.
- Level 3: Level 3 teachers demonstrate advanced teaching competency, deeper therapeutic applications and a greater understanding of complex postures and sequencing. This level often involves years of study, practice and assessment.
- Level 4 & 5: These advanced levels represent highly experienced Iyengar teachers with extensive training in advanced asana, therapeutic yoga applications, mentorship and teacher development. Teachers at these levels are often senior instructors and assessors within the Iyengar yoga system. Iyengar Yoga certifications are governed separately from Yoga Alliance designations and follow their own assessment standards and mentorship requirements.
- Children’s Yoga Teacher Training: Kids Yoga Teacher Trainings focus on adapting yoga practices for children of various age groups through movement, creativity, mindfulness and play-based learning. These trainings help yoga teachers create engaging classes that support emotional regulation, coordination, focus, confidence and social development in children.
- RCYT = According to Yoga Alliance, Registered Children’s Yoga Teachers (RCYT®) must: Hold an active RYT credential, complete a 95-hour children’s yoga teacher training with a Registered Children’s Yoga School (RCYS), and complete at least 30 teaching hours in children’s yoga after training completion
- Prenatal Yoga Teacher Training: A yoga teacher training dedicated to pre and postnatal care for yoga students. A prenatal training will dive deeper into the specifics of the pregnant body and how to not only teach pregnant yogis, but assist, support and offer guidance through their pregnancy journey from a physical, mental and energetic perspective. This training helps yoga teachers stay equipped with the knowledge to guide pregnant yoga students on their journey. It can also be used as a training to help in industries that deal with pregnant people, such as learning meditations and other support methods for pregnant people in hospitals and other clinical settings.
Continuing Education Categories (from Yoga Alliance)
-
-
-
- Techniques, Training & Practice: This category focuses on the practical application of yoga and includes direct experiential learning. Continuing education in this category may include:
- Asana studies and posture breakdowns
- Advanced breathwork techniques
- Meditation practices
- Practice labs and teaching practicums
- Functional movement and mobility work
- Teaching Methodology: Teaching Methodology focuses on the skills necessary to effectively guide yoga students in a classroom setting. Topics may include:
- Sequencing strategies
- Cueing techniques
- Class structure and pacing
- Inclusive and accessible teaching
- Principles of demonstration
- Student observation and adjustment
- Business and ethics of teaching yoga
- Sequencing strategies
- Anatomy & Physiology: This category explores the physical body and how yoga interacts with it. Continuing education programs may cover:
- Functional anatomy
- Biomechanics of yoga postures
- Breathing mechanics
- Nervous system regulation
- Joint mobility and injury prevention
- Yoga and the bodily systems
- Techniques, Training & Practice: This category focuses on the practical application of yoga and includes direct experiential learning. Continuing education in this category may include:
-
-
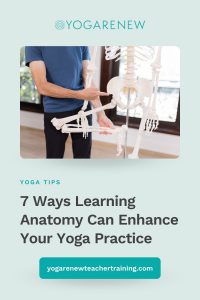
Programs such as anatomy-focused trainings through YogaRenew Teacher Training often expand on these concepts in greater depth.
-
- Yoga Philosophy, Lifestyle, Ethics: Yoga philosophy trainings help teachers understand the historical and spiritual roots of yoga while learning how to apply yogic teachings to modern life. Topics often include:
- The Eight Limbs of Yoga
- The Yamas & Niyamas
- The Bhagavad Gita
- The Yoga Sutras
- Concepts of suffering and liberation
- Ethics and responsibility as a yoga teacher
- Meditation and mindfulness philosophy
- Yoga Philosophy, Lifestyle, Ethics: Yoga philosophy trainings help teachers understand the historical and spiritual roots of yoga while learning how to apply yogic teachings to modern life. Topics often include:
Continuing Education (CEUs) & Why They Matter