Do you ever eat something that you know is good for you, but research the benefits of it to feel even better about eating it? I do this almost every time I want to eat pizza, but prepare something that’s much more nourishing instead I research the benefits of the spices, the vegetables, and whatever additional ingredients are involved in the recipe so I don’t just grab the pizza I was craving. Pizza is easy and it’s also satisfying, but if I eat it every day, I know I won’t feel good. It’s also easy to skip my restorative yoga practice, but I never feel good about it when I do…
It’s a little too easy to lean into the things in life that don’t necessarily benefit you. It’s a little too easy to just order takeout or stay on the couch than to prepare something nurturing or to roll out your yoga mat and move. Whenever I’m lacking the motivation to do the things that are really good for me, I get motivated by reminding myself how and why they’re good for me.
There are so many amazing benefits of restorative yoga! I could go on and on about them, but some of the ones that get me excited to come onto my mat are:
1. Restorative yoga will slow things down
Most restorative poses are held for minutes at a time, so your mind and body will have a chance to slow down. If you’re coming home from work or if you just feel like your mind is moving in a million directions, the restorative yoga practice will help you create a little more space around everything that’s going on. The world we live in is naturally fast-paced — people want quick fixes and immediate answers, so it’s too easy to be tuned up or burnt out whenever you’re trying to slow down.
When you give your mind and body the space for quiet and slowness, which is what the restorative practice creates, you will begin to see what needs your attention and what isn’t really that important. You’ll be able to make decisions from a calmer place instead of giving into the immediacy life sometimes demands.
The most effective restorative yoga poses:
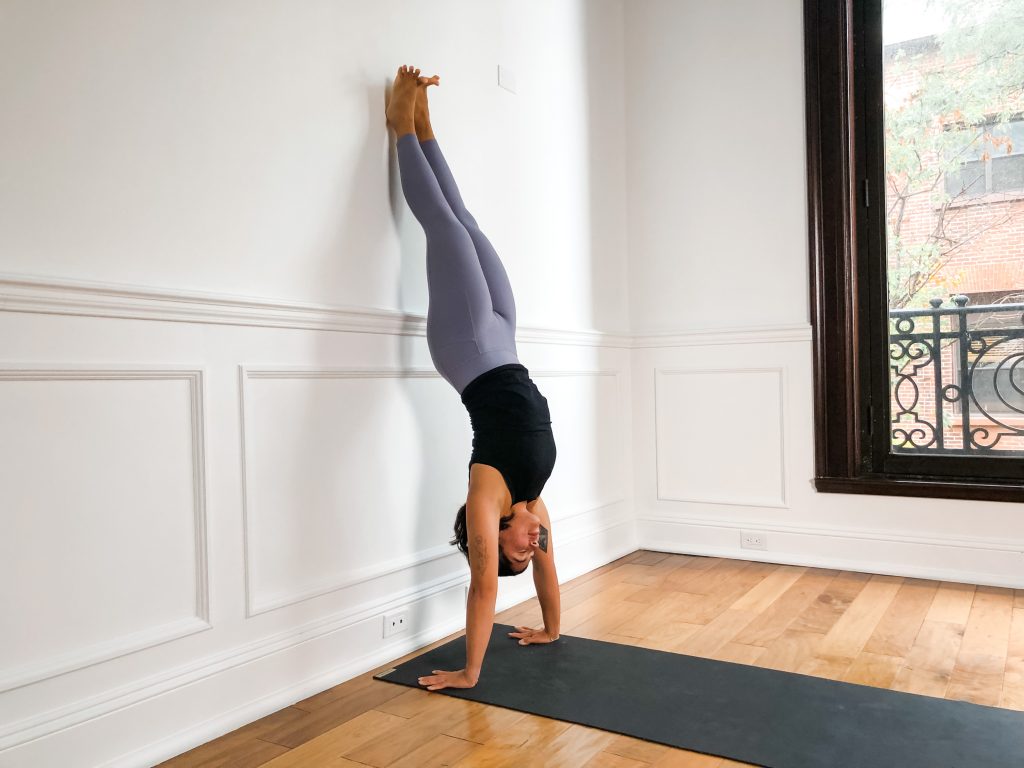
- Legs up the wall
- Supported fish
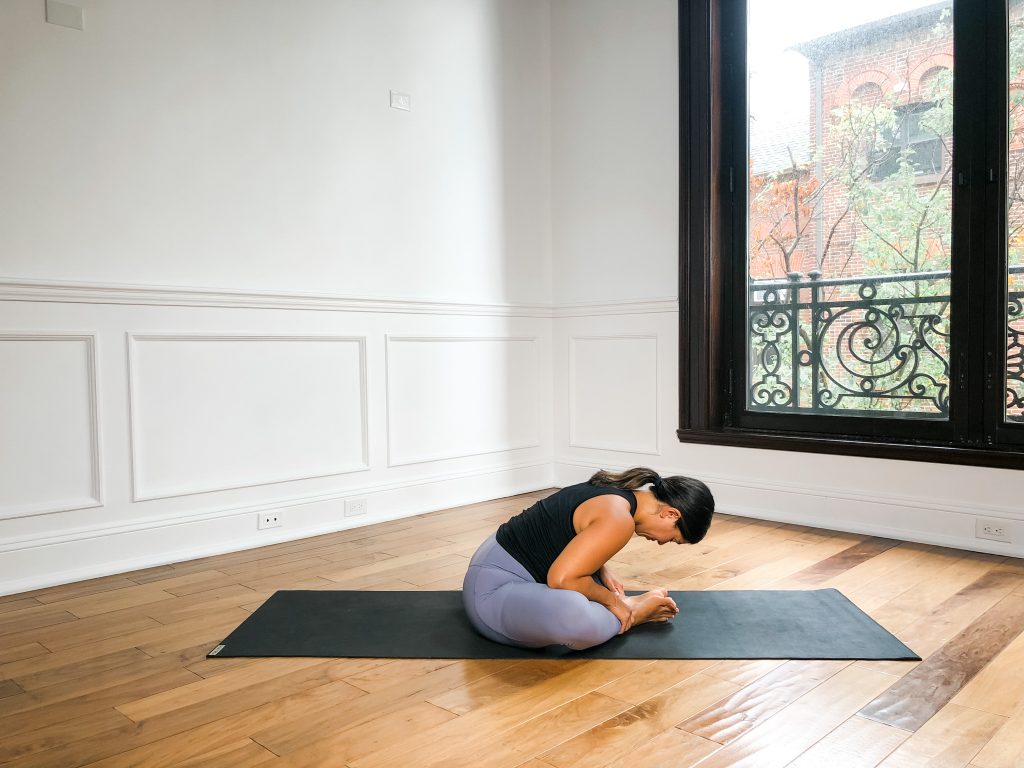
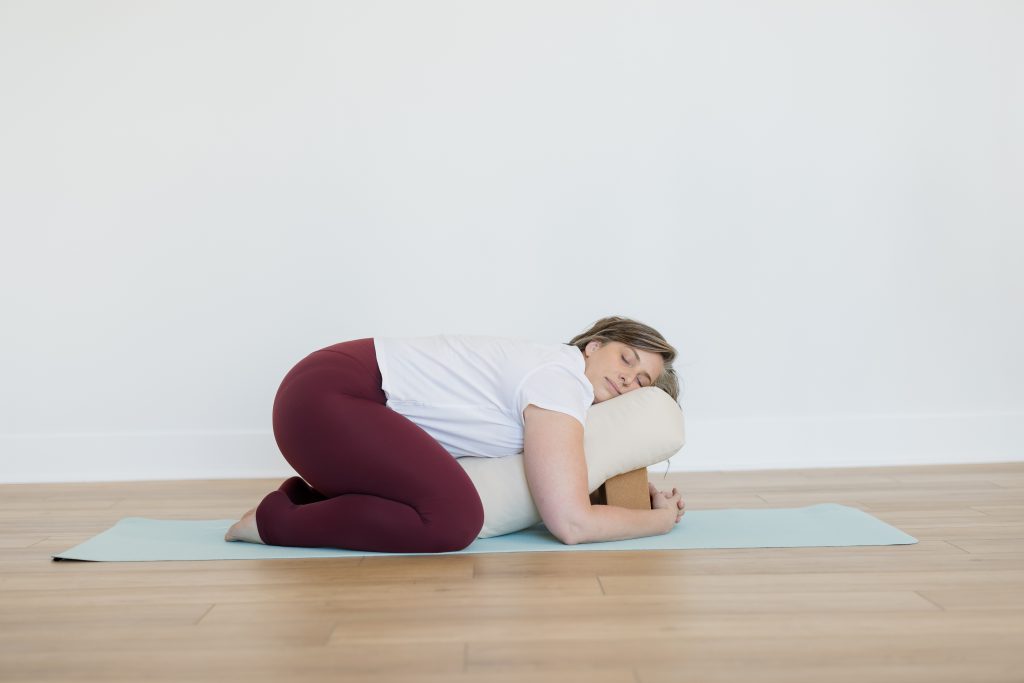
- Childs pose
- Supported savasana
- Supported pigeon
2. Restorative yoga can help you sleep
Whether you’ve heard of it already or not, your body has something beautiful called the parasympathetic nervous system. When the parasympathetic nervous system is activated through restorative yoga, your body enters a state of relaxation. If you choose to practice right before bedtime, you’ll bring these benefits right into bed with you.
You’ll be less tempted to scroll through your cell phone or reach for the television remote when you’re already relaxed and ready to unwind. You’ll actually be excited and motivated to get under the covers and get to sleep. Also, your sleep may be much more peaceful and uninterrupted because you’ve already unwinded from your day.
3. You might find yourself more energized
Since restorative yoga puts your nervous system at ease, you might find yourself less burnt out. When you’re able to take quality rest, you’re more likely to move through your day with a lot more energy and with much more focus. You may even notice that you don’t have any brain fog and that you’re much more attentive.
I often recommend replacing that afternoon coffee with one or two restorative poses. There are some poses that are actually quite energizing, but in a way that replenishes your energy instead of over stimulating you. These are perfect for that afternoon pick-me-up.
Restorative yoga poses that will energize you:
- Supported, seated wide leg forward fold
- Supported bridge pose
- Restorative twist
- Sage’s twist
4. You’ll be much more in-tune with what your body needs
One of the goals of restorative yoga is to find balance in your body. When you’re in balance, you’re much more aware of your needs and potential deficiencies. Your body is so intelligent that when it’s lacking something, you’ll get a craving or you’ll feel like you need to rest or simply spend some time alone.
This practice helps your body find the balance it needs to tap into its inner intelligence. You’ll find yourself responding to calls and messages from a much more sincere place and you’ll probably be much happier with the things you say yes to. When you’re balanced on the inside, you can make decisions that keep your environment balanced all around you.
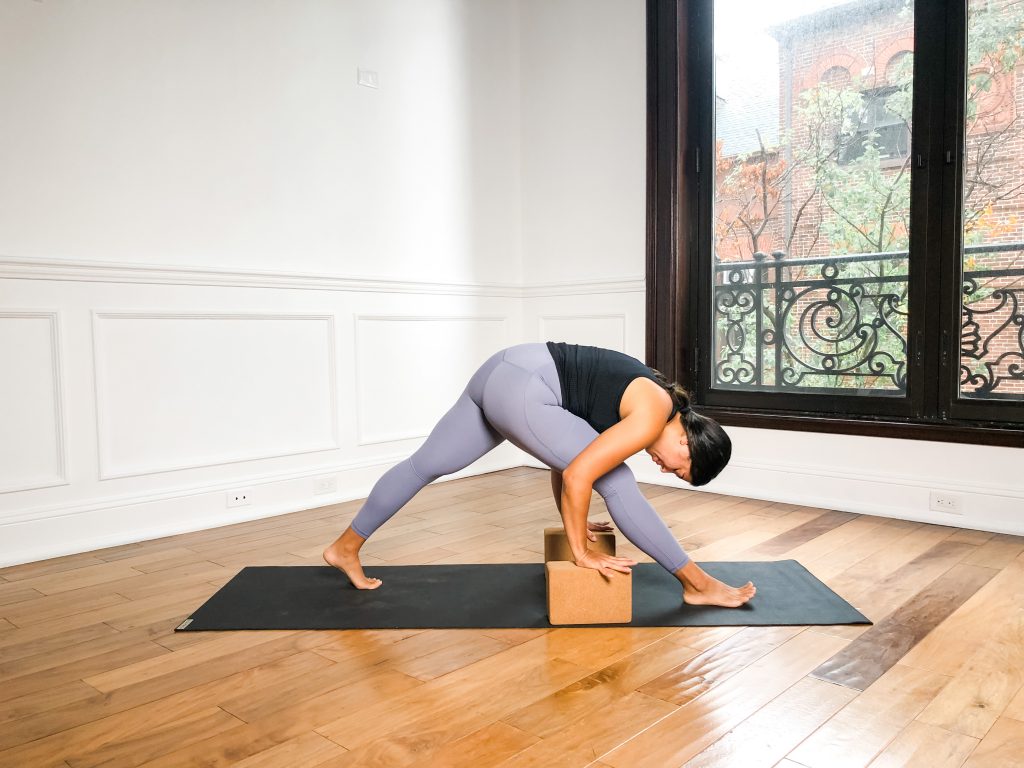
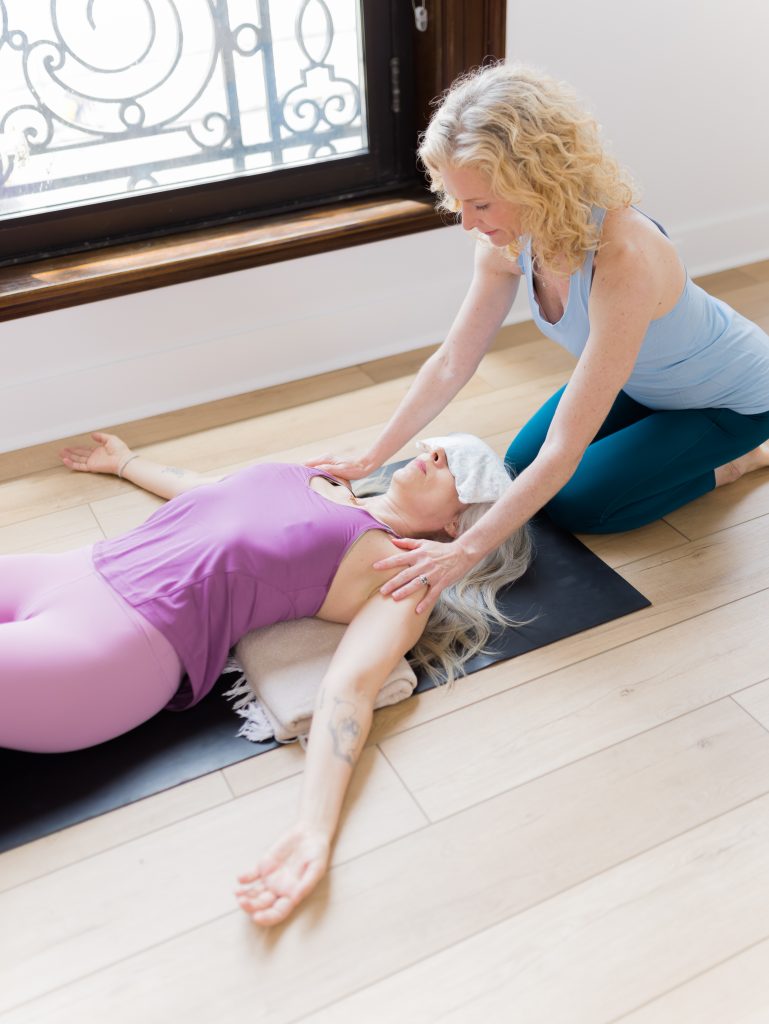
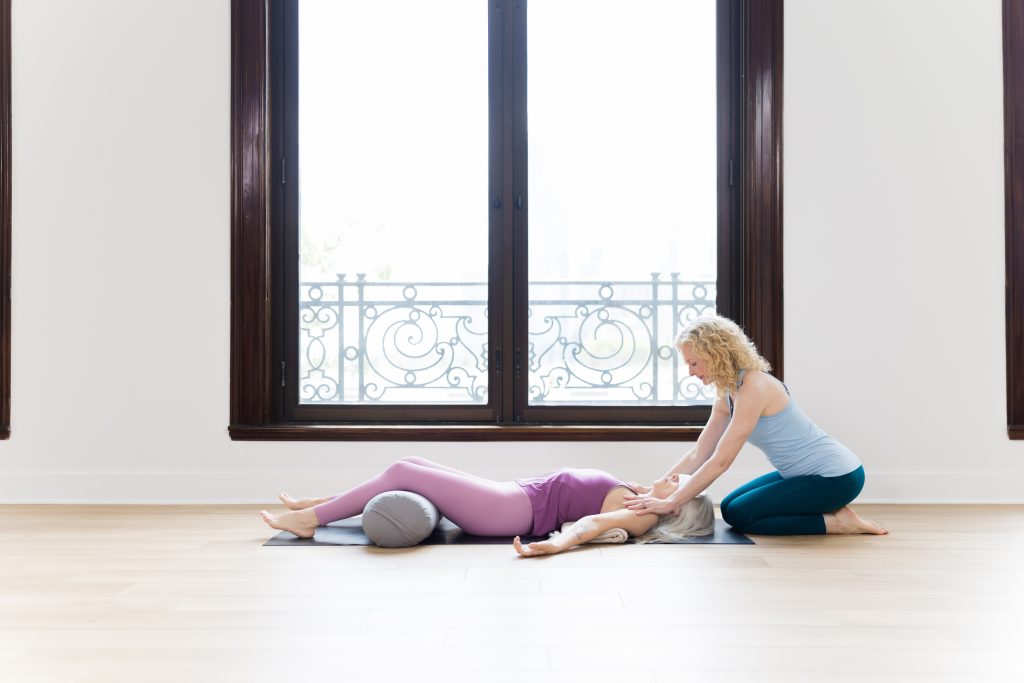
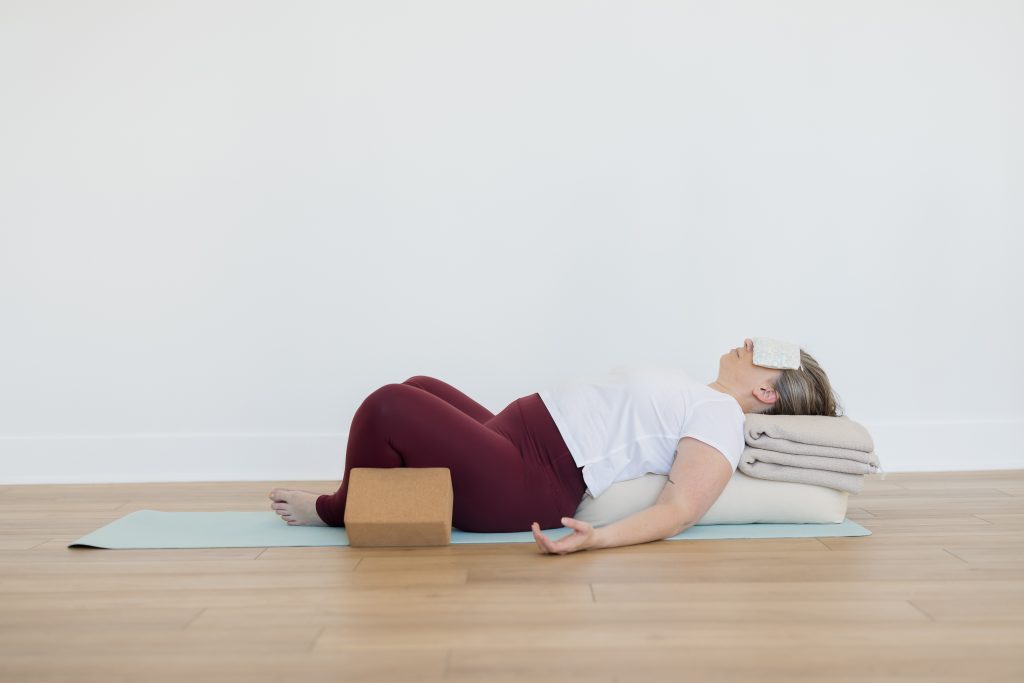
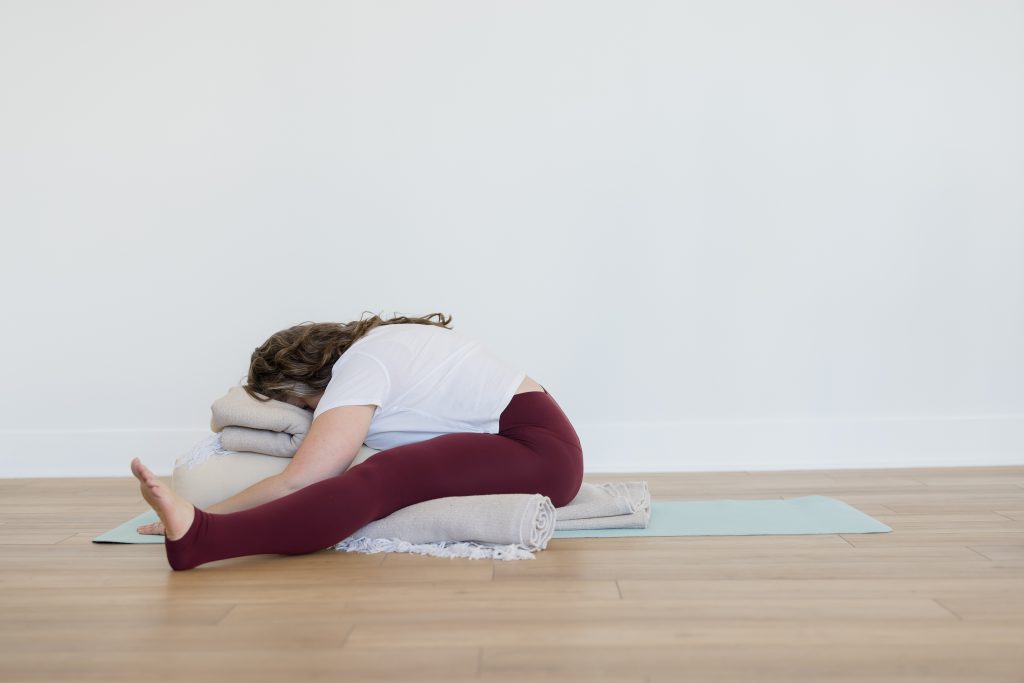
The importance of props & why modifications help!
Restorative yoga is all about the usage of props in order to maximize stretches and get the best results. Bolsters, blocks and blankets are the most popular yoga props utilized in restorative yoga. In addition, you can often use eye masks or even the assistance of another person (usually the teacher) to press on your body, known as “hands on assists,” to get you deeper into the poses. It’s also important to modify the way you use the props so that the set up is specific to your body. An experienced restorative yoga teacher will be able to tell you how to properly place your props so that you reach maximum comfort in each pose.
5. You’ll make choices that make you happier
Since you’ll be coming back to balance and understanding what you need to do to stay balanced, you’ll probably find yourself in situations that bring you joy as opposed to the ones that deplete you. Sometimes, when you don’t know what you need or want, you might say yes to everything.
Saying yes to everything can be one of the causes of burnout, so knowing what you want and don’t want is so beneficial. Restorative yoga will help you make decisions from a sincere place It’ll help you choose what’s good for you and know when to say no to what’s not.
6. You’ll probably find yourself a bit more mindful
There’s a lot of talk of mindfulness these days. That’s because it’s one of the ways to live a much more healthy and fulfilling life. When you’re tuned into how certain food, people, music, movies, and situations make you feel, it can be much easier to cultivate what makes you feel good into your life. If you don’t really know what you want, you might find yourself in situations where you’re just unhappy and unfulfilled.
Over time, the restorative yoga practice can help you make better decisions. You’ll be able to pause and ask yourself if something is good for you or not so great for you. You’ll empower yourself with the knowledge of realizing what keeps you balanced. You’ll know why you’re saying no to certain things and yes to others.
7. It’s a way to recover
Restorative yoga will definitely help you recover from any physical activity you’ve gone though, but it’ll also help you recover from the mental and emotional things as well. Anything that makes you feel sad, angry, or even lonely can be something that you actually do need to recover from. Too often, there isn’t enough time to process situations that may have caused you to cry or scream — maybe you held it all in and thought you had to just get over it.
You need to recover from anything that brings you out of balance and taking the time on your yoga mat can help you move through anything emotional that’s been brought up. Restorative poses will help you process emotions instead of ignoring them.
8. You’ll actually understand savasana
I know I can’t be the only one who used to struggle with savasana — I actually still struggle with it to this day! It’s common for your mind to wander and to think about to-do lists or whether or not you fed your cat. The nature of the mind is to move towards distractions and everyone struggles with quieting their mind. There’s just too much going on in this life and there are too many things to remember or think about on a daily basis.
The good news is that in restorative yoga, you will get a much longer savasana. It’s not uncommon to practice savasana for 10-15 minutes or longer, as opposed to a vinyasa or hatha yoga class where you might be in savasana for about 5 minutes. A longer savasana means more time to understand the benefits of it by actually feeling them and experiencing them. When you’re in a pose like savasana for that long, your mind will naturally settle down and your body will begin to receive the benefits. It’s a true reset for your nervous system!
9. You’ll feel the benefits in your other yoga classes
Once you start adding restorative yoga to your routine, you’ll probably notice that your mind is a little more relaxed in some of your other yoga classes. You will be much more connected to your breath and your body as you move through your vinyasa or hatha classes. This is because you’ll have spent so much time in your restorative practice establishing homeostasis in your body, so you won’t be seeking ways to do that elsewhere.
If you’ve ever gone into your vinyasa practice during a time when you’ve been depleted and burnt out, you probably felt even more depleted and burnt out afterwards. Once you begin practicing restorative yoga, you’ll be able to move through these other classes feeling more balanced at the end.
Let’s practice!
If you’re interested in learning more about the benefits of restorative yoga or becoming certified to teach restorative yoga classes, please check out our restorative yoga teacher training. In this training, we go much deeper into some of the other benefits of the practice and also the benefits of each of the poses
Restorative yoga can be for everyone because there are endless ways to set up the poses and modify them for most people and body types. This is a practice that I believe almost everyone should be doing to establish balance and bliss in this life. I’d love to have you in this training!