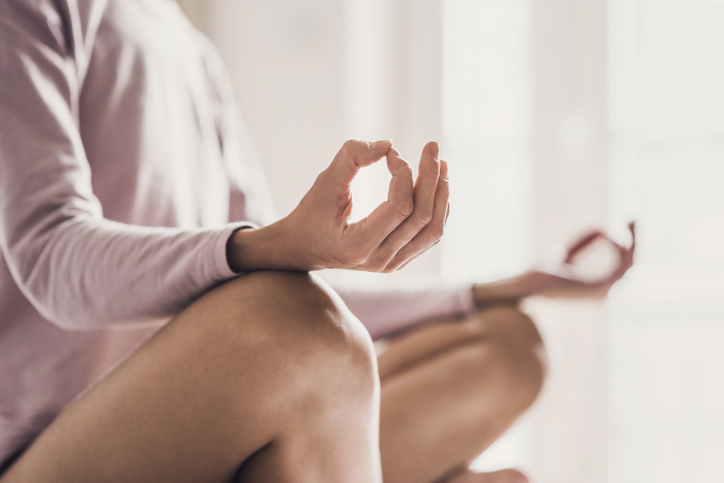
According to Ayurveda, there are three major life-forces in your body that correspond to certain elements. These are called the doshas. The doshas oversee the way you process and experience all things in this lifetime, here on planet Earth.
The Doshas are:
- Kapha (earth + water)
- Pitta (water + fire)
- Vata (air + ether)
When you are in balance, you naturally have a balanced amount of pitta. Balanced pitta may manifest as ambition, leadership, passion, motivation, and organization. When pitta is out of balance, it may manifest as fiery and fast digestion issues, anger, irritation, judgemental tendencies, and irritability.
Pitta dosha is made of the elements fire ad water and some of the qualities are oily, hot, sharp, light, and spreading. When fire and water come together, it can create steam. When you think of steam, you probably imagine there being some sort of flame or heat to cause transformation. This is an example of how you need pitta to digest and transform your food, your thoughts, and your emotions.
Pitta can be recognized within you whenever you are passionate about something and whenever you’re motivated. Those times when you feel unstoppable and incredibly driven are how you can recognize pitta within you.
When there is excess pitta, which can happen during the hotter times of year and also if you naturally have more pitta within you, you can find balance by cultivating the opposite qualities of pitta. This could mean slowing down, cooling down, and also having fun and laughing.
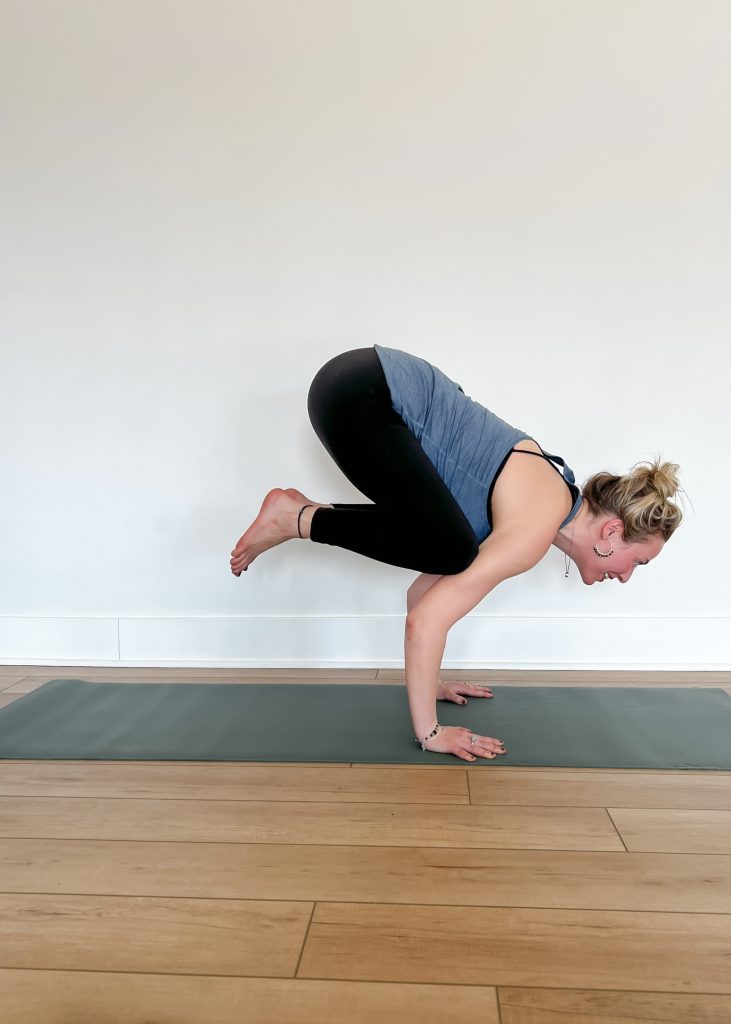
In a pitta-balancing yoga class, it’s helpful to have a purpose. These classes work best when there is a clear peak pose and also when there is a bit of playfulness. Any class that focuses on opening the heart and cultivating more love, gratitude, and compassion is helpful to balance excess pitta.
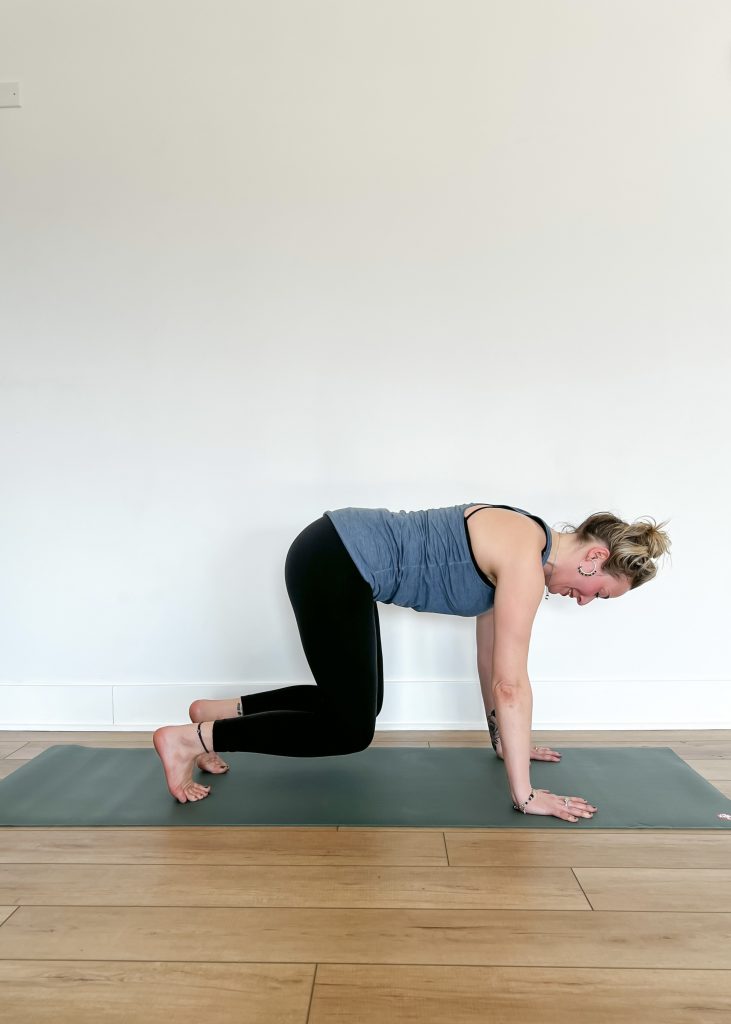
Supporting Pose 1: Lizard Pose (Utthan Pristhasana)
The low lunge, and forms of it, is such an underestimated pose in yoga classes! I know it’s not necessarily a traditional asana, but you probably noticed that we do a lot of lunges and they can be altered to work for whatever pose we are working towards. In this variation, you will keep your knee down and also play around with lowering to your arms. It’s an interesting variation that can keep high pitta qualities intrigued, while also offering a little bit of a cooling quality.
Lizard Pose (Sanskrit: Utthan Pristhasana)
How to get into Lizard Pose:
- From a Downward Dog, reach your leg up and step your foot forward between your hands. If your foot doesn’t make it all the way up to the front of your mat, use your hands to help it up along the way. You can also place blocks beneath your hands in Downward Dog and that elevation can help you get your foot forward.
- Move your foot over to the edge of your mat so you can bring both of your arms inside of your front foot. Your shoulder should be inside of your front leg. If you feel like your heel is lifting off the ground, you may need to step your foot a bit more forward. You can also try to bring your foot onto a low block.
- Lower your back knee down to the mat and do your best to reach your chest forward. You are trying to bring your hips in front of your knee, as opposed to stacked on top of your knee.
- Bring your attention to your back foot and untuck your toes. Imagine your toenails have wet nail polish on them and you’re trying to make toenail prints on your yoga mat. You may also bring your attention to the big toe. This will help you find some length through your ankle and your foot.
- Stay up on your palms or lower down to your forearms. If the floor feels far away from you, bring some blocks beneath your hands or your forearms. There is often a tendency to reach downwards with the chest, which makes sense because it is such a grounding place to be. However, for this lunge, try to reach your chest forward of your mat.
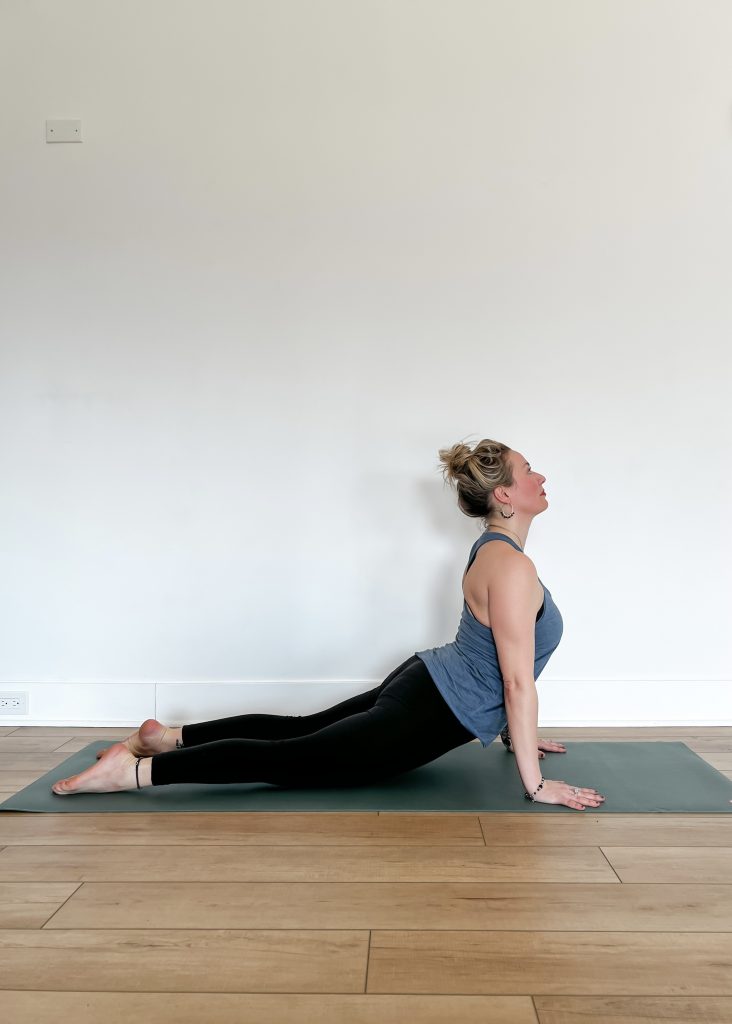
Supporting Pose 2: Upward Facing Dog Pose (Urdhva Mukha Svanasana)
Urdhva Mukha Svanasana will help you tap into the length of your front legs while also helping you to find space through your lower back and opening through your chest. This pose will also bring in a sense of openness along with self empowerment that may help balance pitta.
Upward Facing Dog Pose (Sanskrit: Urdhva Mukha Svanasana)
How to get into Upward Facing Dog:
- Begin in a plank pose and lower all the way down to your yoga mat.
- Bring your palms beneath your shoulders and lift just your chest, With only your chest lifted, start to engage your thighs and press the tops of your feet into your mat. You may feel your knees lift as your thighs engage, but remember to keep your feet on your mat.
- As you lengthen your arms, reach your chest forward and also engage your abdominals. Imagine your tailbone can move towards your heels (you can’t physically do this, but the thought of it may help create some length through your lower back).
- Draw your shoulder blades together and spread through your collarbones. Make lots of space between your fingers.
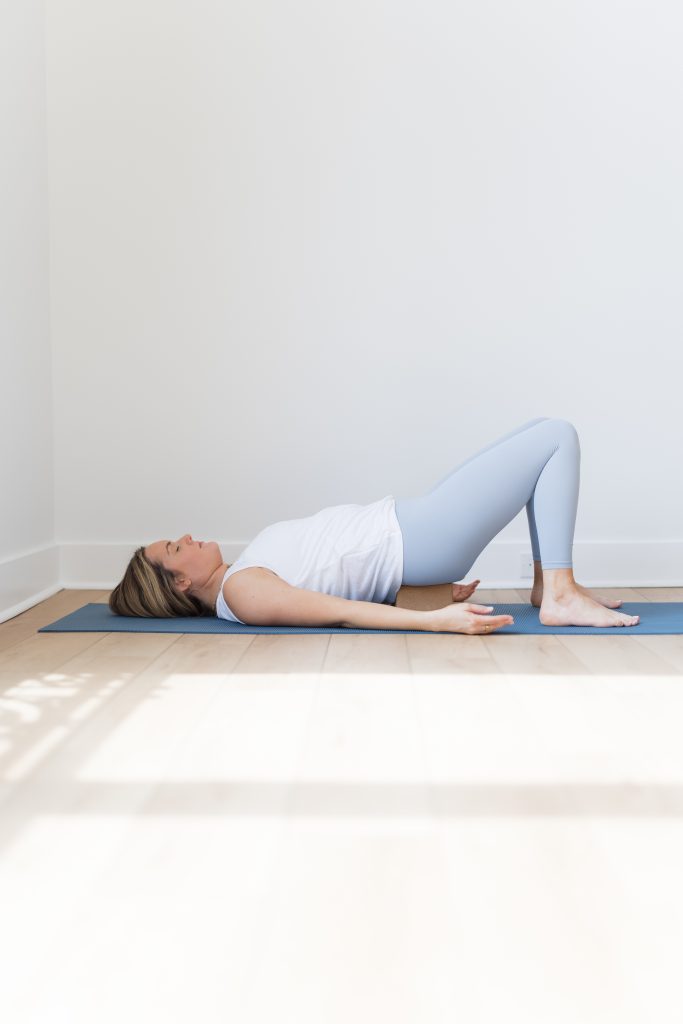
Supporting Pose 3: Bridge Pose (Setu Bandha Sarvangasana)
Bridge pose is an excellent way to find the alignment of your legs and feet while keeping your chest open and finding that upper backbend. It’s a nice one to help balance pitta dosha because it’s not over stimulating and it’s also sometimes satisfying to actually be able to see your heart and hips move and align.
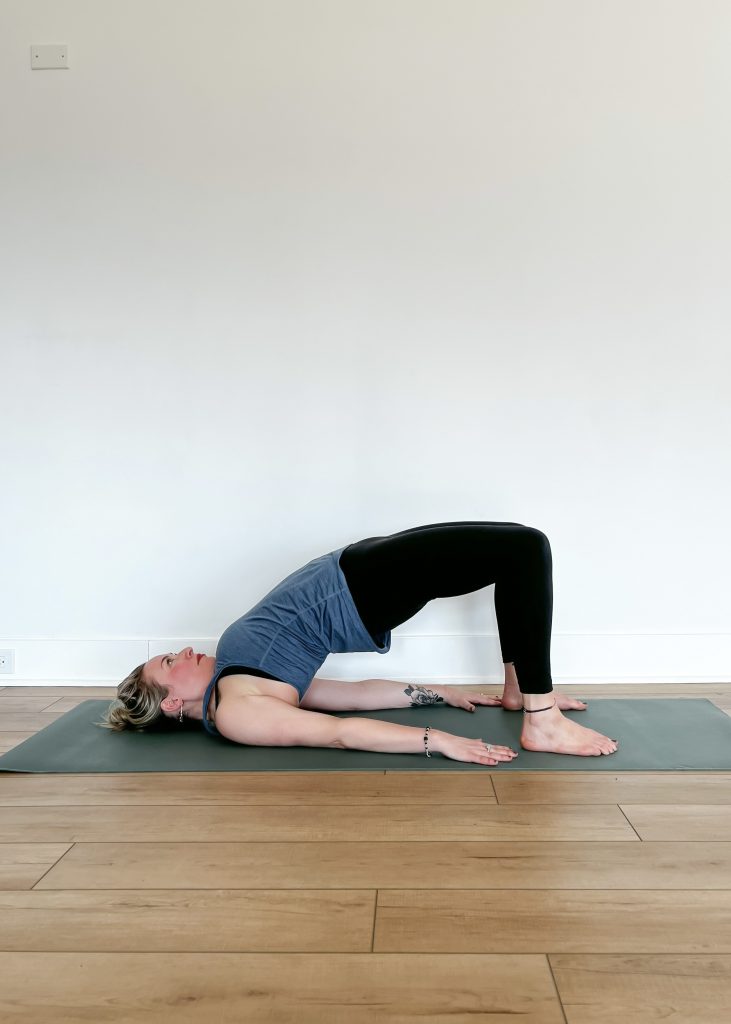
Bridge Pose (Sanskrit: Setu Bandha Sarvangasana)
How to get into Bridge Pose:
- Come to your back and bring the soles of your feet to your yoga mat. Make sure your feet and legs are about hips-width apart and your toes are facing forward.
- Lift your hips towards the sky and reach your hands towards your heels. If you feel like your knees are way behind your feet, move your feet closer to you. If you feel like your knees are moving way over your toes, move your feet away from you.
- Try to use the strength of your upper back to lift your chest higher. Remember, the strength you cultivate is what helps you open your heart.
- If it’s available to you, clasp your hands and reach your knuckles towards your feet.
Peak Pose: Camel Pose (Ustrasana)
You’ll probably find that a lot of people have a love/hate relationship with back-bending. I always thought that heart-opening was a better name for backbending because backbends require so much trust, openness, and strength. In order to feel like you can trust yourself, you have to cultivate a lot of love and also a lot of humor. They can be playful and fun if you allow them to be and they’re also soft reminders that life shouldn’t be so serious,
Camel Pose (Sanskrit: Ustrasana)
How to get into Camel Pose:
- Begin on your hands and knees and take a look back at your knees and feet. Make sure they’re about hips-width apart and not too close together.
- Take your hands to your hips and come up to stand on your shins. Once again, make sure your knees and feet aren’t too close together as this will make the backbend a bit more intense (and not in the good way that pitta may want intense).
- Take your hands to your hips and just notice how your hips are right above your knees. Remember you’re going to try your best to keep your hips over your knees as you come into the pose.
- Now bring your hands to your lower back. It may be helpful here to imagine your abdominals moving towards your hands. For some people, this serves as a reminder to activate their abdominals and to avoid collapsing into their low back.
- Lengthen through the sides of your waist. Picture another inch of space coming between your hips and your armpits.
- Now, picture a big beach ball behind your heart and between your shoulder blades. With that intention to lift up and over that beach ball, reach your chest towards the sky and then towards the space behind you.
- If it’s available to you, take your hands to your heels while maintaining that lift in your chest and that length in your lower back. You may even feel the urge to release your head back and see the space behind you. If this feels natural, go for it!
Remember, excess Pitta can cause you to lose sight of your own self care because you may feel like you need to do more than you need to. You may also feel like you’re not doing enough, and then eventually do too much. Remind yourself, or your students, to take breaks and to also laugh whenever there’s a mixup between left and right sides or any time there seems to be tension through the face.
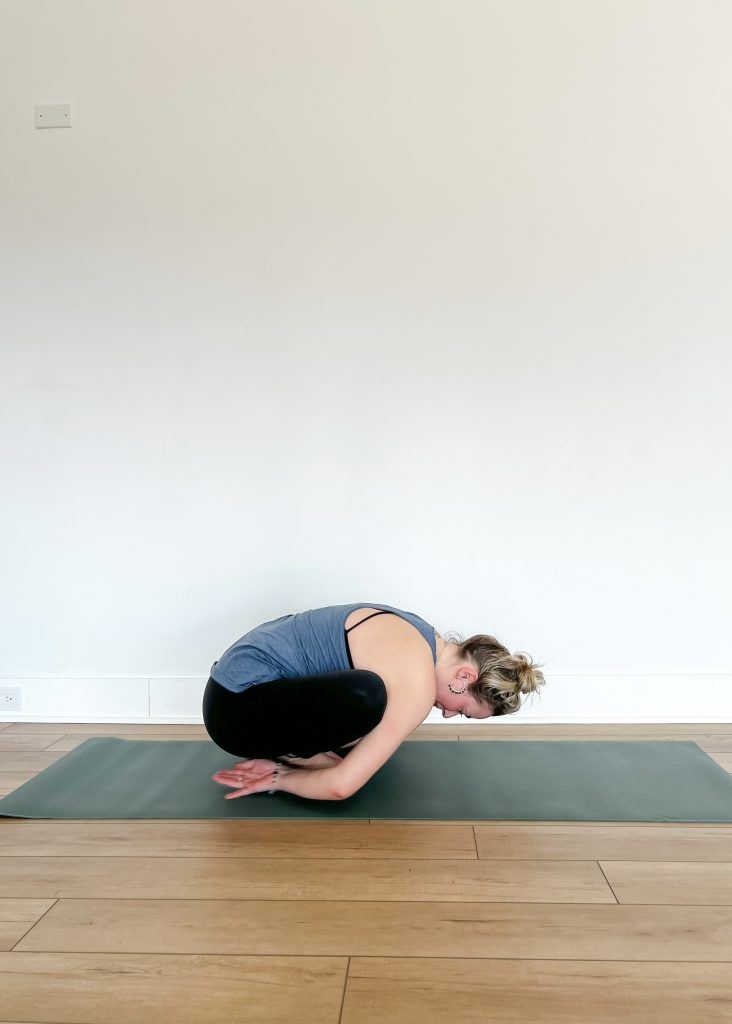
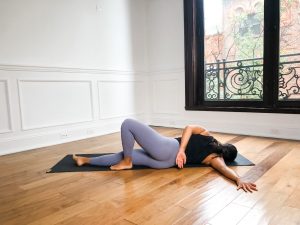

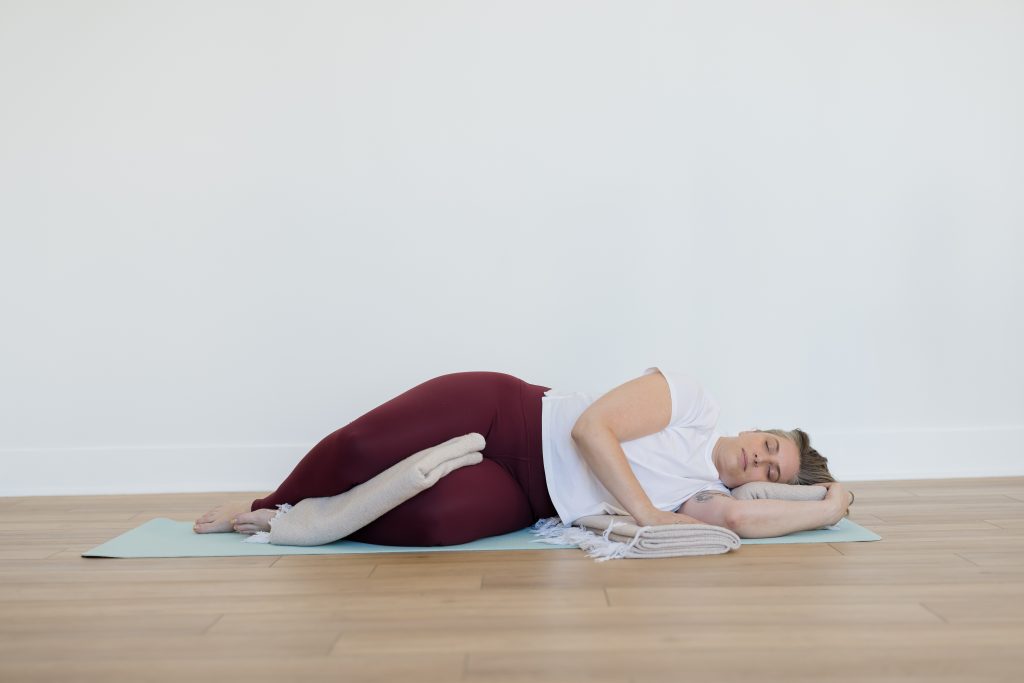
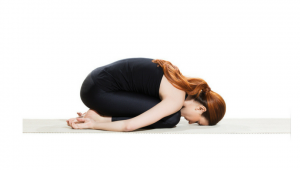 Allow yourself to release and let go in Child’s Pose. As you ground down and surrender towards the mat, imagine as though your hands are outreaching out to receive more things to be grateful for in your life.
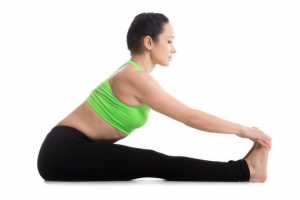 Seated Forward Fold helps us to relax our mind and bodies. As you do this pose, focus on surrendering into gratitude for the things in your life that you appreciate. Feel the grounding of the earth beneath your sit bones as you root them into the ground and feel appreciation for the earth supporting you.
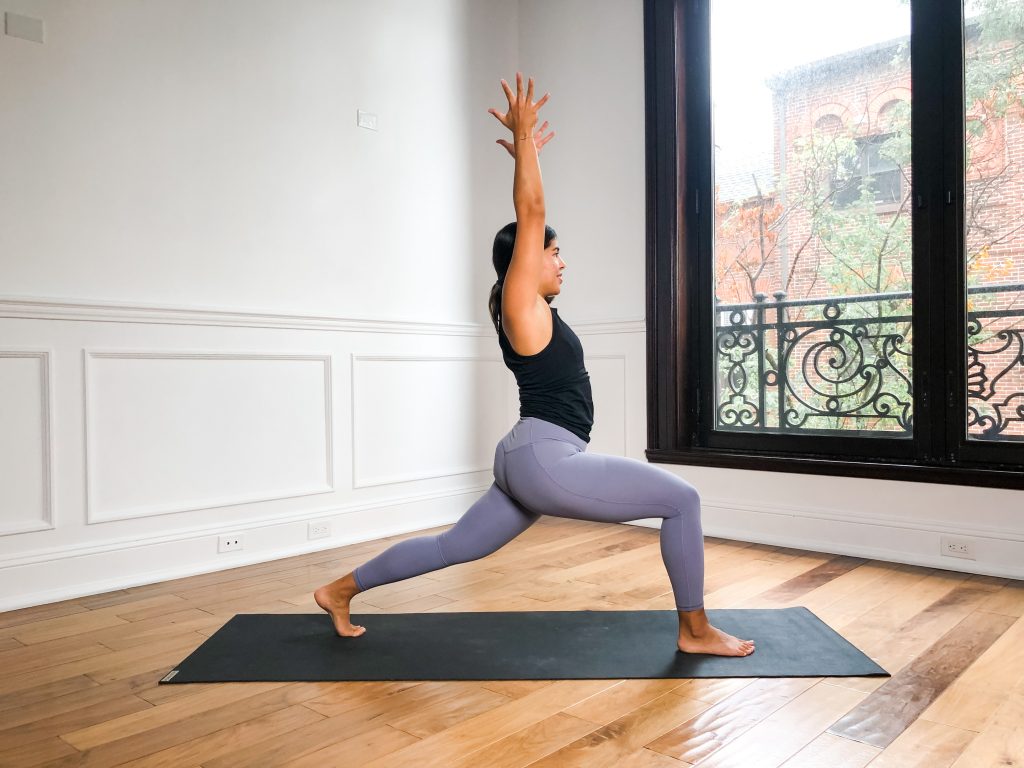
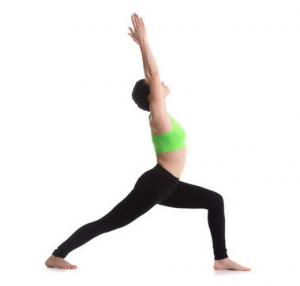 As you come into Warrior I Pose, allow your arms to reach up towards the sky as if you are receiving more things to be grateful for in your life. You can also imagine as if your arms are outreaching to give to someone else.
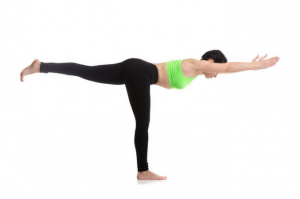 Warrior III is a grounding and energizing pose. When in this pose, again imagine the outreaching of your arms forward are reaching to give to another person. Allow the feeling of giving to fill your heart. Feel the earth beneath your grounded foot, supporting you.
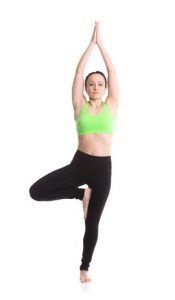 Ground down through your standing foot and reach your arms upwards. Imagine the opening of your arms as if they are tree branches opening up to the sky and earth around you, ready to receive all the good and blessings in your life.
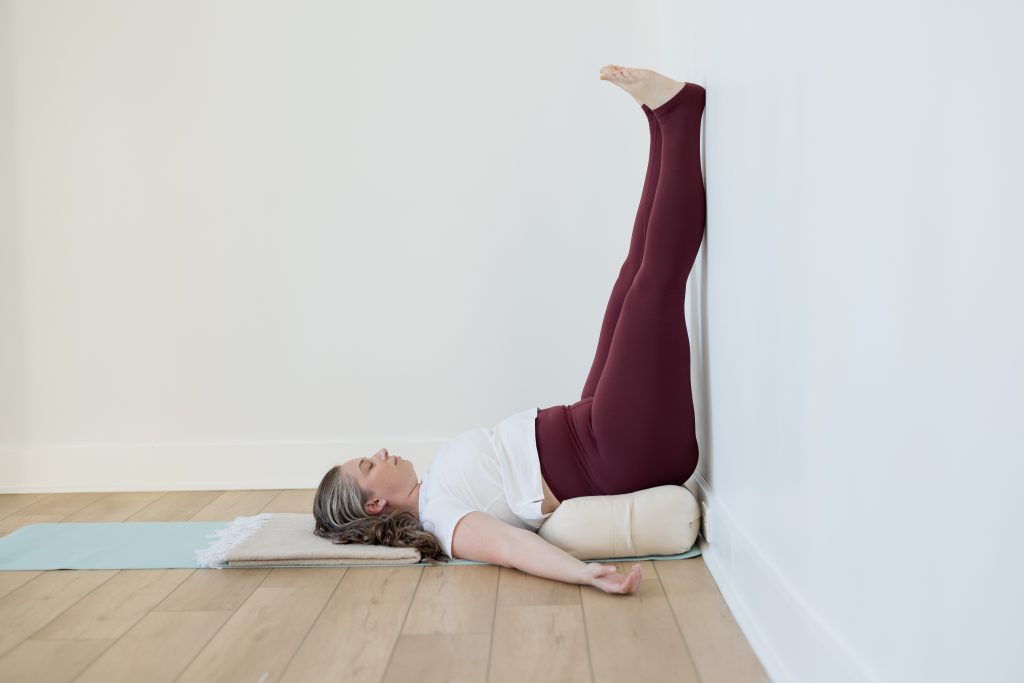
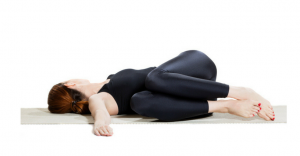 Stretch and detoxify your body and mind with this deep twist. As you melt into supine twist pose, allow yourself to linger here for a few breaths longer than usual. Allow your mind to relax and your heart area to fully open as you express your gratitude for your life.